ANCHORAGES
EN795 : The anchor point is a point where the fall arrest system is safely attached to ensure the security of the user. There are different kinds of anchor points:
| Type A | Anchoring device requiring the fixing of one more structural anchors |
| Type B | Anchoring device not requiring the fixing of one more structural anchors |
| Type C | Anchor device using horizontal flexible anchor lines |
| Type D | Anchor device using horizontal rigid anchor lines |
| Type E | Deadweight anchoring device |
Use : There is no good fall arrest system without a good anchorage point. Whatever the type of intervention to achieve and that it is temporary or regular, it is essential to correctly choose its anchor point and verify that the host structure (building, steel structure, tower, ...) is sufficiently resistant.
How to choose ?
The anchor point is undoubtedly the part of a fall arrest system that is tricky to choose to ensure optimum safety. When choosing the anchor point the first thing to do is to determine where to install it.
For this we must take into account the following aspects:
- static strength of the anchor point : > 12 kN
- installation height: high enough compared to the first potential obstacle in case of a fall (see fall factor diagram)
- situation: in the vertical workstation to avoid risks of pendulum effect (see pendulum effect diagram)
|
We will ensure as far as possible to focus on work situations with a fall factor 0 or 1 and we will avoid if possible installing a fall arrest system on an anchor in fall factor 2, The pendulum effect must also be as small as possible.
|
 |
FALL FACTOR
 |
 |
 |
|
Fall Factor 0
|
Fall Factor 1
|
Fall Factor 2 Position of the anchor point above the attachment point of theuser |
| In a representation of space in 3D symbolized this way: | 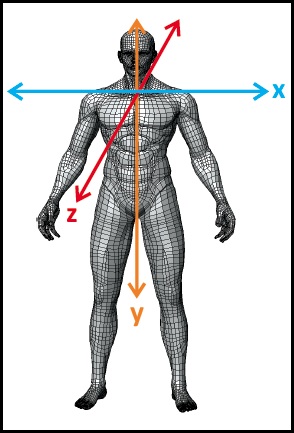 |
Key: x = axis right / left y = axis up / down z = axis back / front |
| We created the 4 following pictograms in order to help you understand the direction in which the effort can be applied on our anchor points: | |||
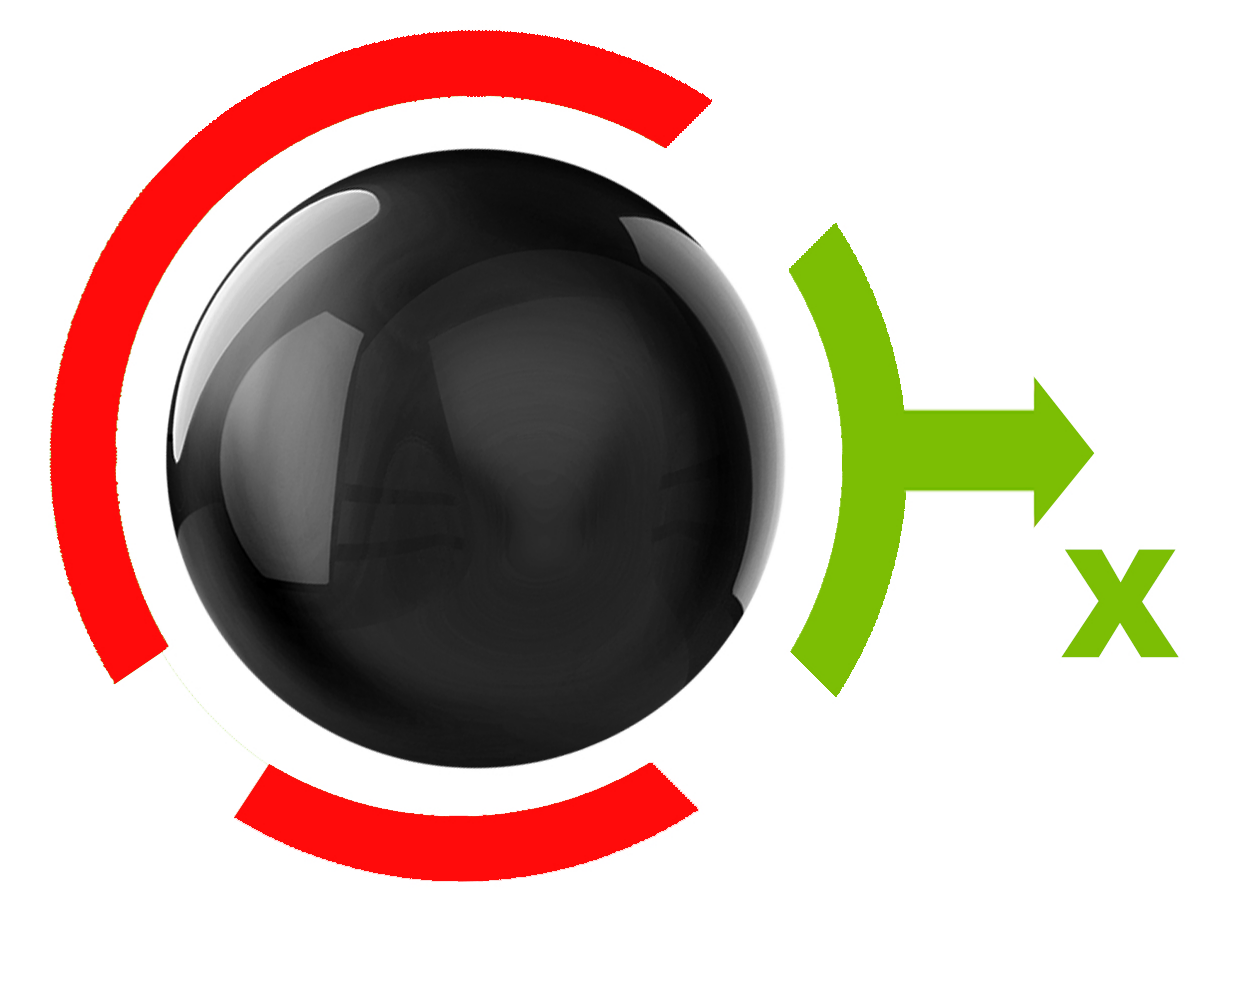 |
This anchorage can be used only in a horizontal direction in relation to the installation. |
 |
This anchorage can be used only in a vertical direction in relation to the installation. |
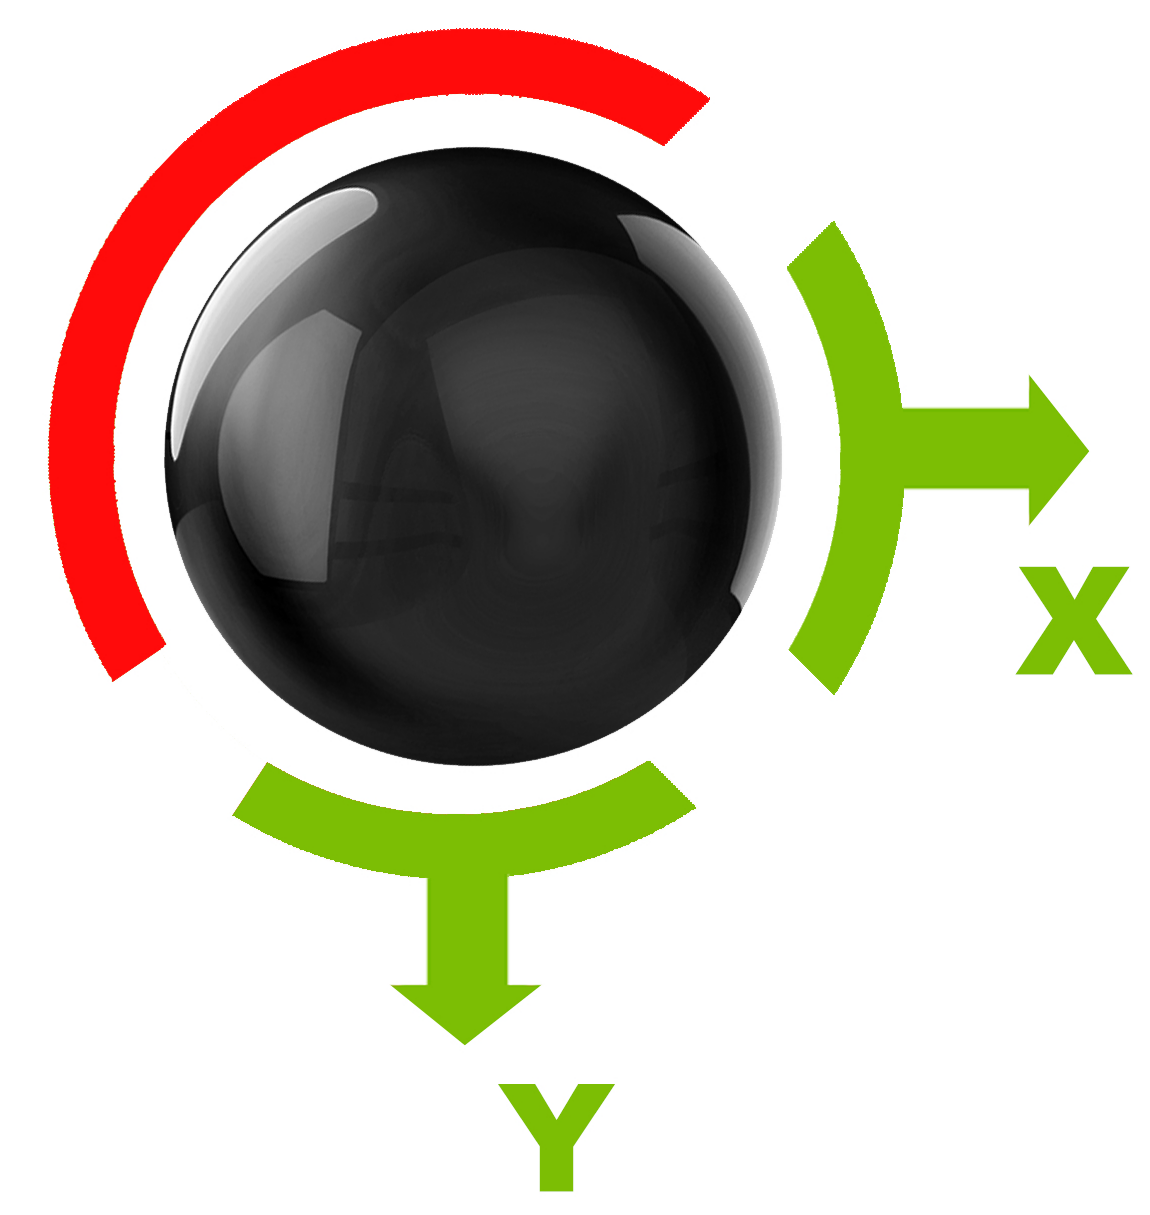 |
This anchorage can be used both in a horizontal and in a vertical direction in relation to the installation. | 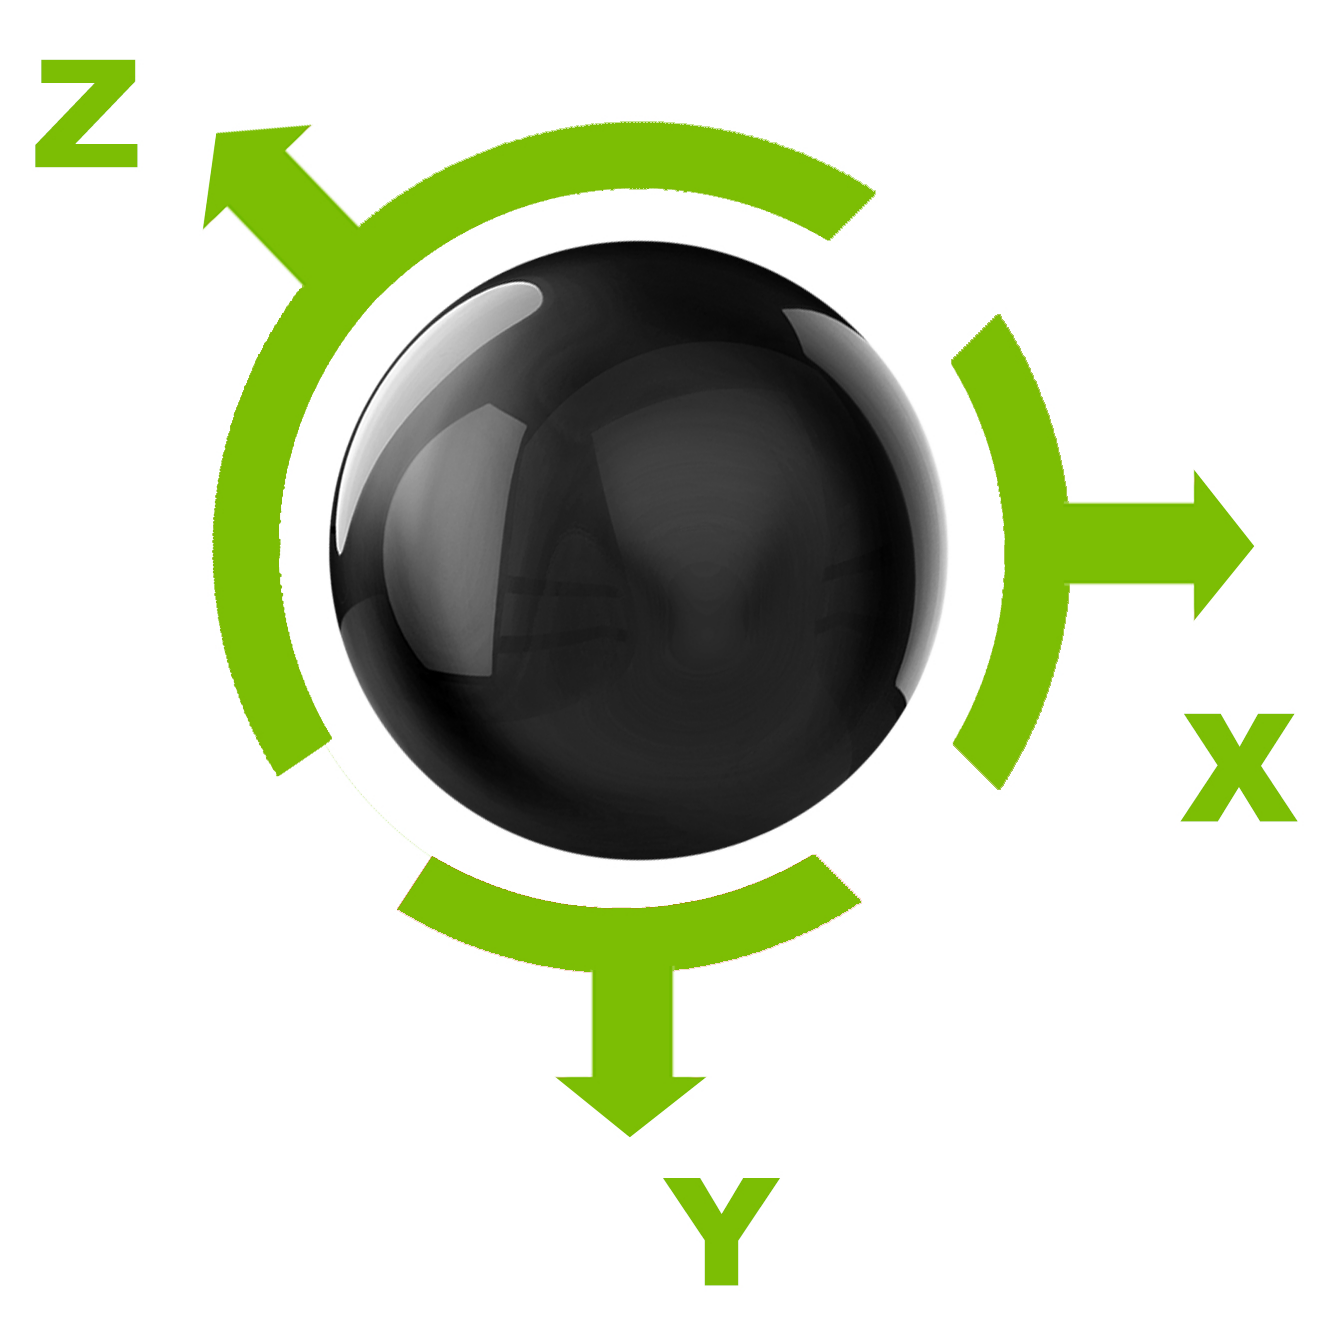 |
This anchorage can be used in the 3 directions in relation to the installation. |